8. Custom motor mount bracket
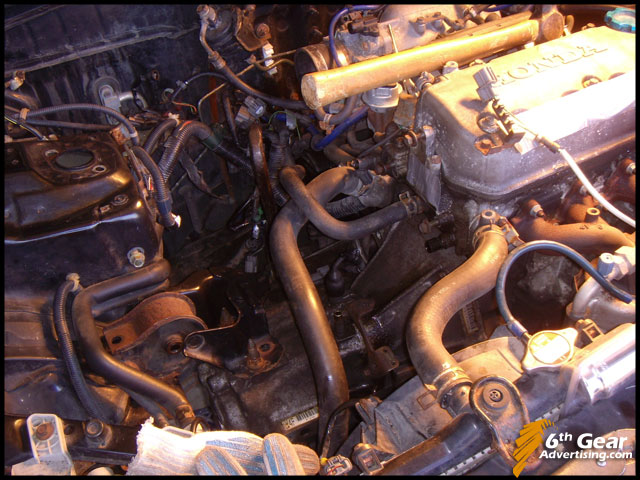
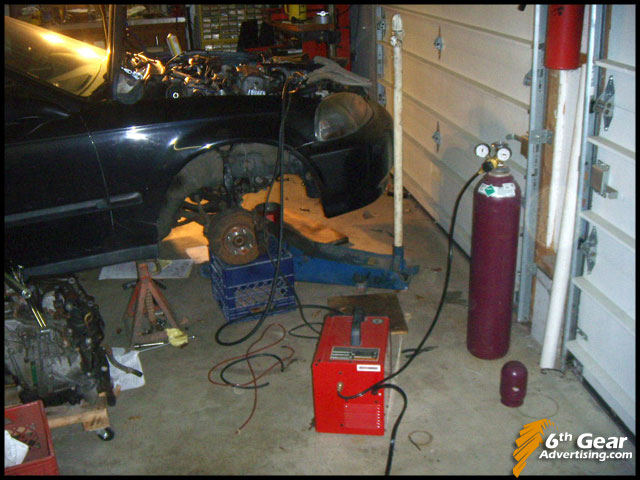
This write up is only intended as an overview of converting your CVT Civic to Manual transmission. By reading further, you are agreeing that by attempting to do anything you see here, I am in no way responsible to any damage you cause to your transmission, your car, or yourself. I suggest you purchase a service manual for all the details, such as torque specs & tightening order.
You will need to build a motor mount bracket next. The problem is that all manual & auto EK's have the passenger mount bolted to the frame rail. CVT HX's use a completely different mount setup in front of the shock tower.
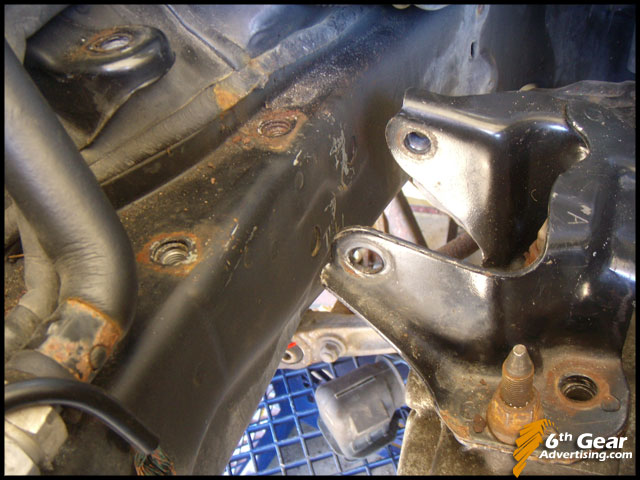
The holes in the side of the frame rail that the other EK's have are not present on the CVT equipped HX's.
Luckily, making a motor mount is not rocket science. All you need is to cut & weld - but warning- it's not going to look pretty.
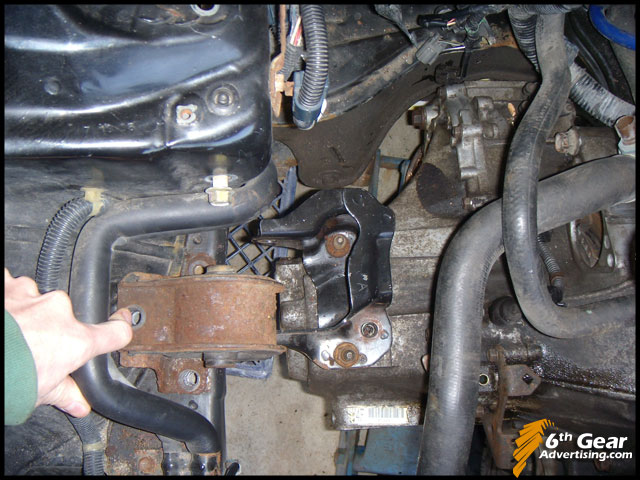
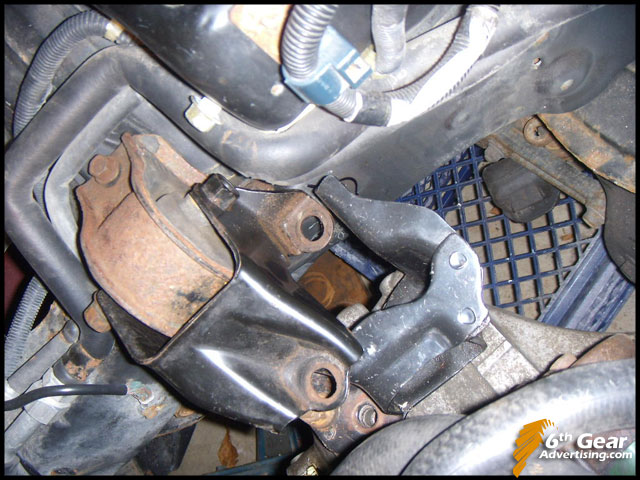
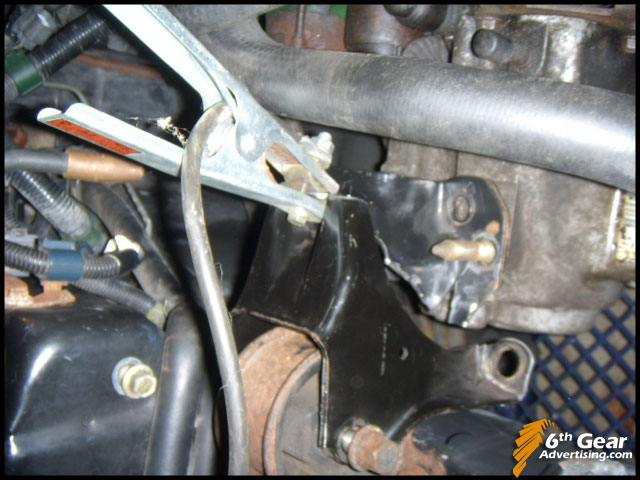
Here we have the Manual tranny bracket installed.
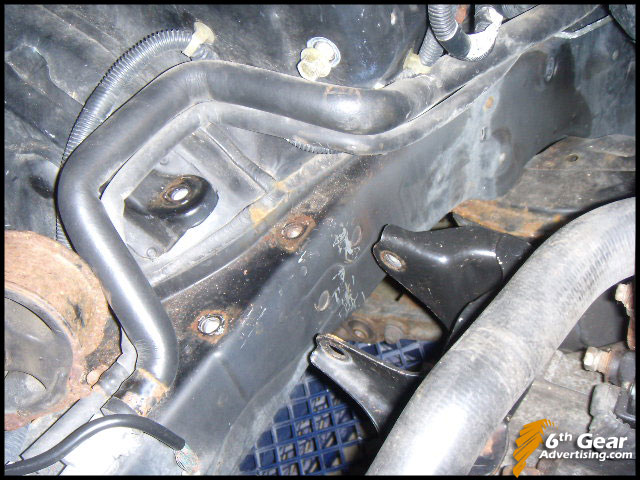
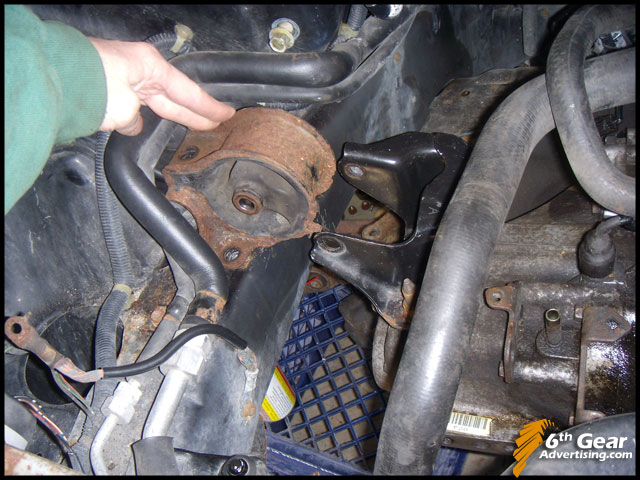
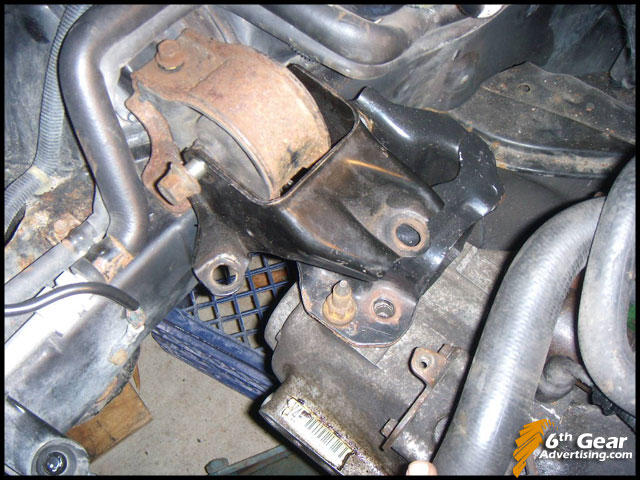
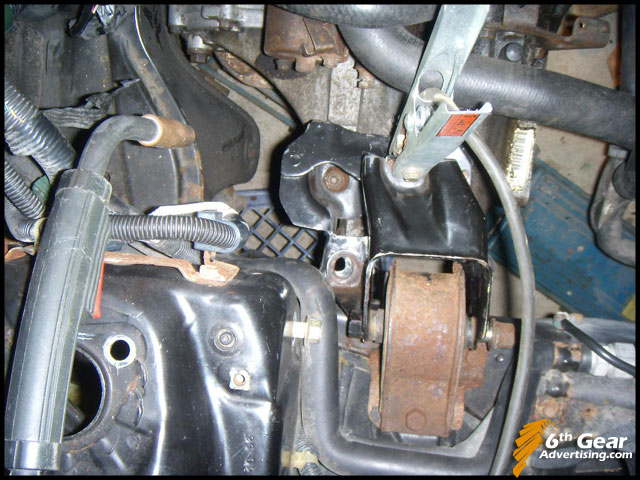
This is the Mount + bracket that the CVT uses.
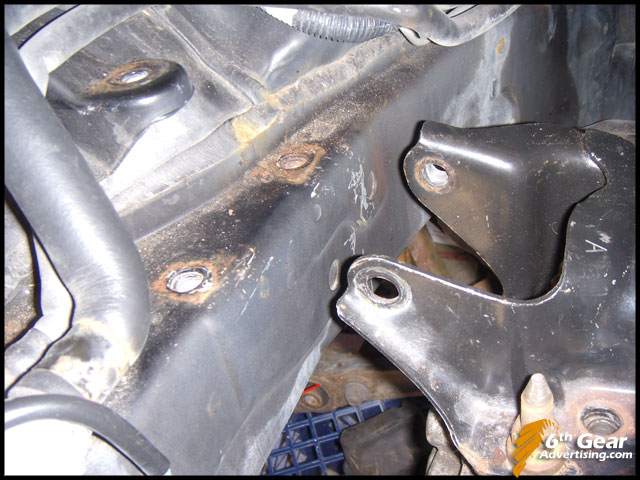
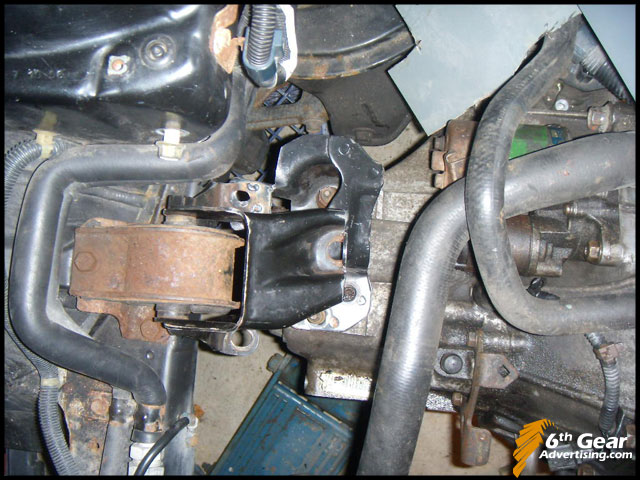
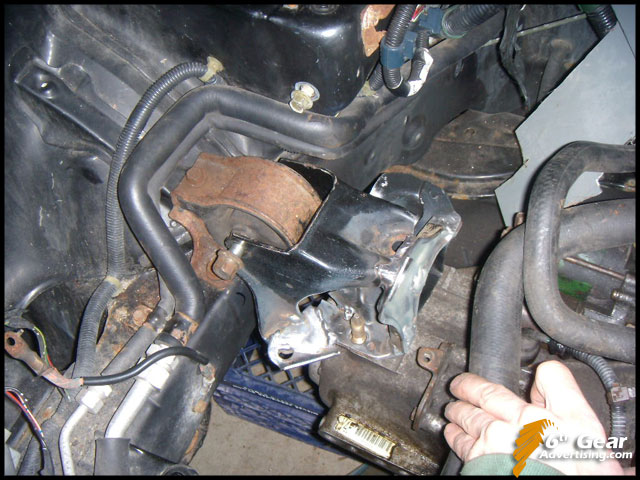
CVT mount in place with manual bracket
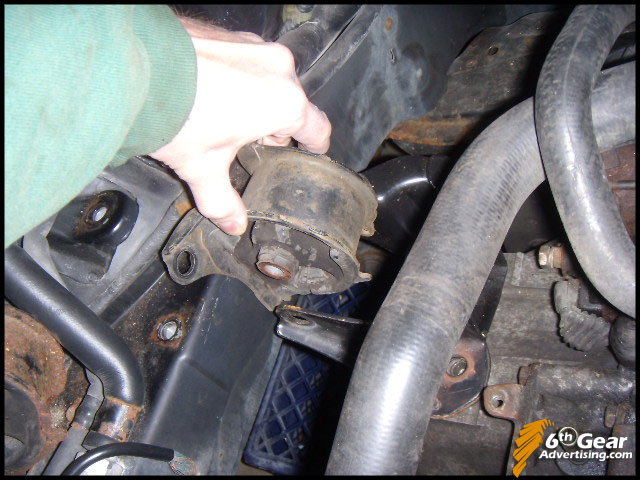
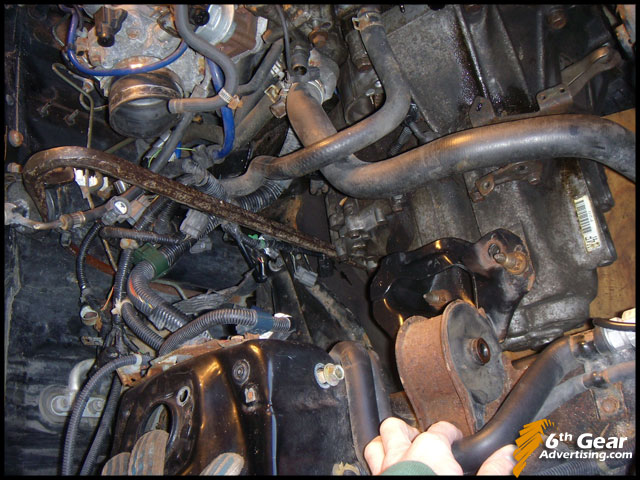
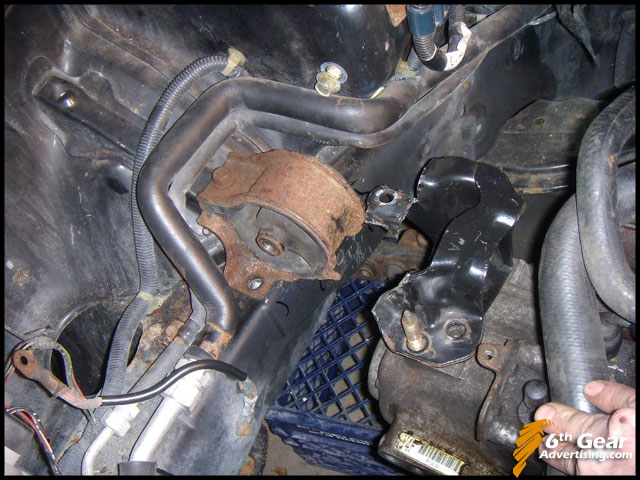
Here is the regular mount that all the other EK's use. You can see where the holes would be on the side of the frame rail, there are small indentations, but no holes/threads for the bolts. It might not be a bad idea to get a hold of this mount just to hold it in place to be sure your tranny is lined up properly. Once you have it positioned in the right place, then you're ready to build the mount.
Here I had the tranny jacked up too high. I thought it would be a close fit, but when I stepped back, I could see the whole motor was crooked in the bay. That is the last thing you want, as it would put extra strain on the axles. Bolting up the rear mount & bracket first will help avoid this.
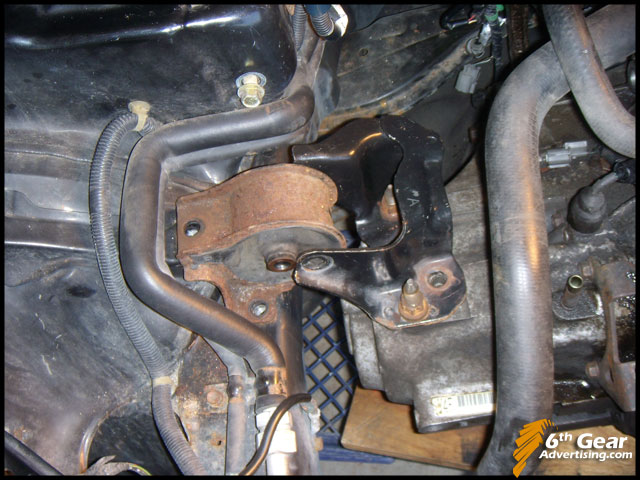
So here is the CVT mount properly lined up with the Manual tranny bracket - not even close.
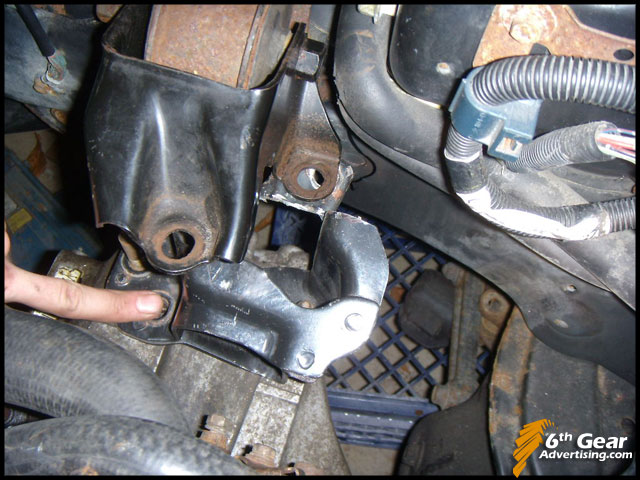
I drew an outline of the regular mount that all the other EK's use, so that I could quickly & easily hold it up to be sure that nothing shifted as I would be welding I fitting the new bracket.
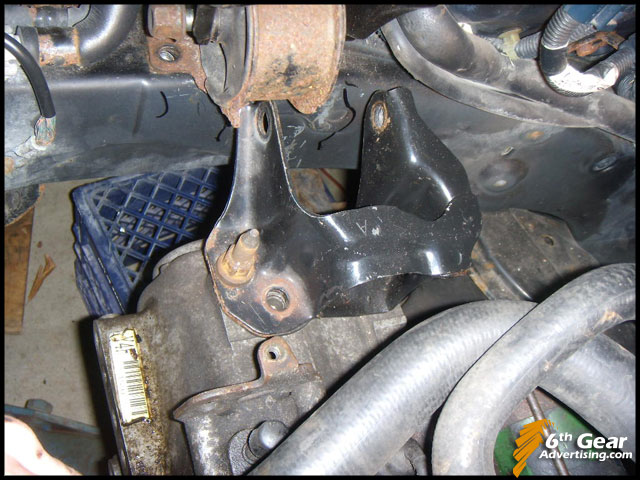
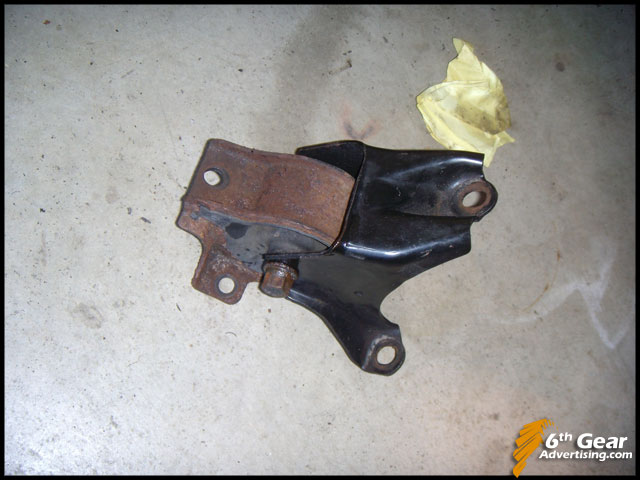
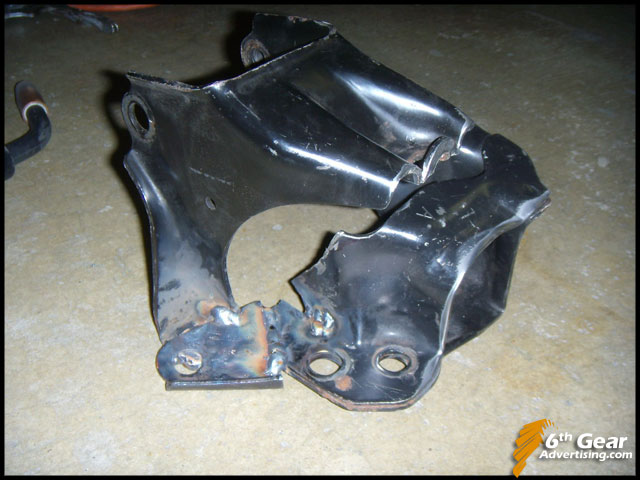
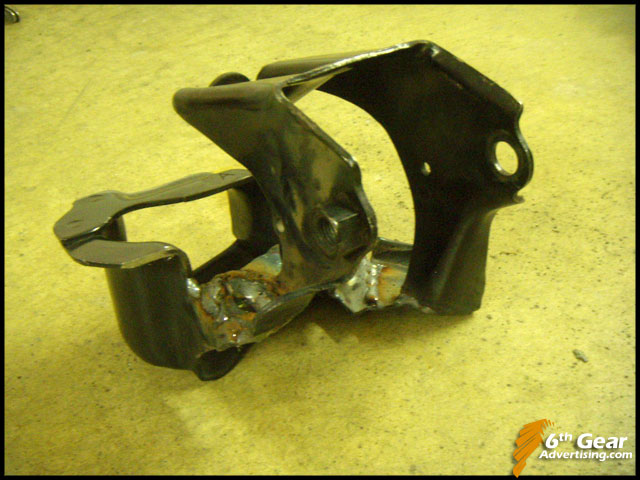
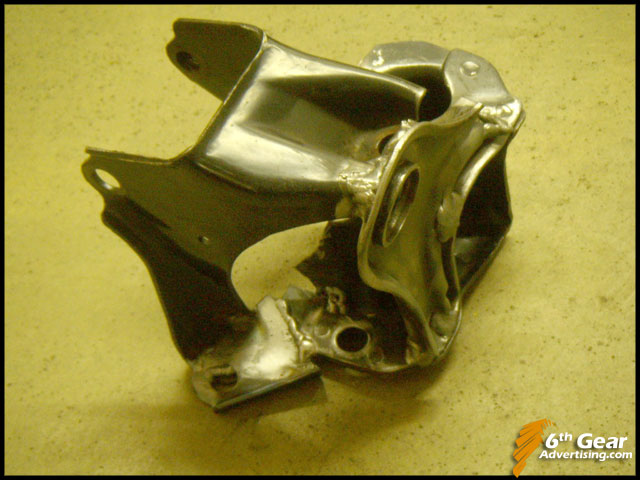
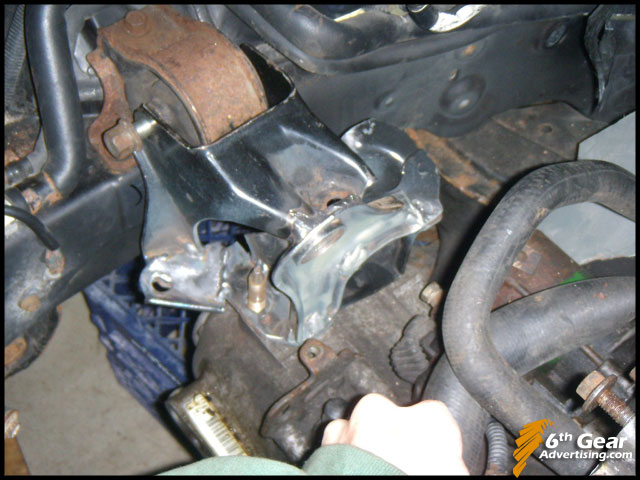
Now I am building a custom bracket by combining the CVT and Manual brackets.
Here they are in place:
There is no certain method to combining these 2 brackets, just be sure that nothing shifts & take it one step at a time. Do it by eye, and you'll need a bench vise & hammer to get clean bends.
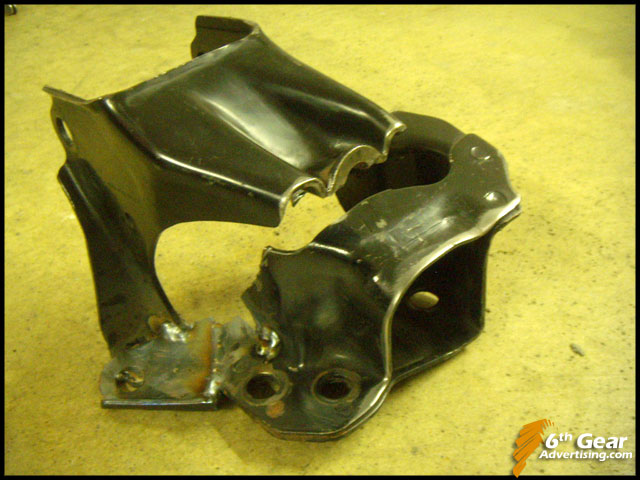
First I began modifying the manual bracket to accept the CVT bracket.
The process is remove the bracket, modify it some, then install it again to be sure things are lining up as planned.
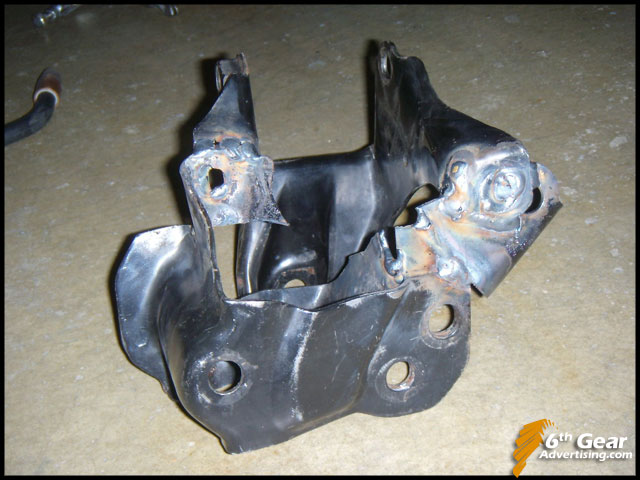
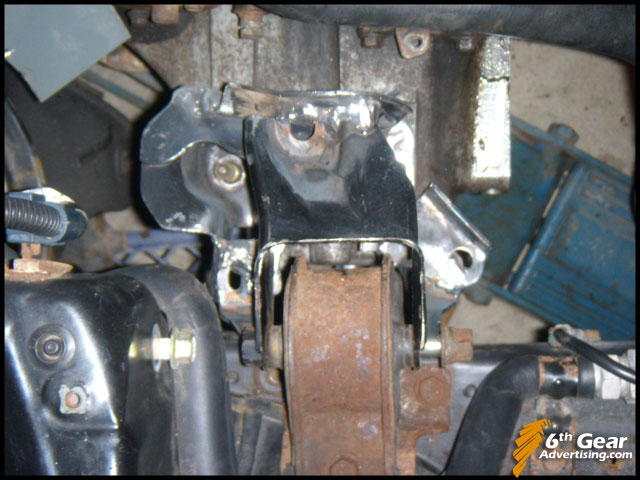
After you get everything pretty much lined up, time to weld. You only need a small MIG. You'll be tack welding the brackets together while installed in the engine bay to be sure that everything will be positioned correctly.
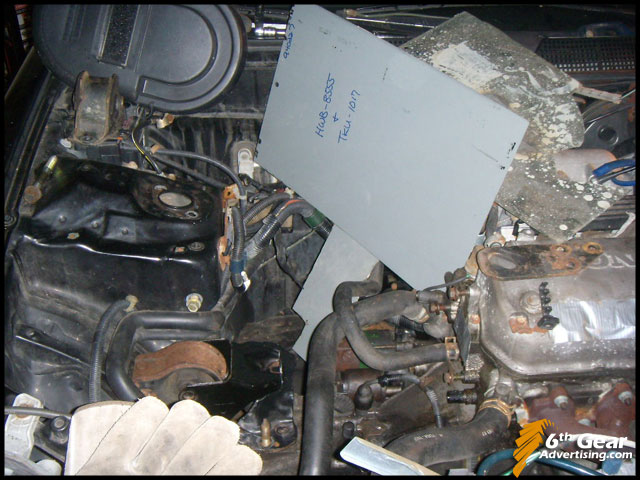
You've got fuel lines in the bay, so be sure you protect them from sparks.
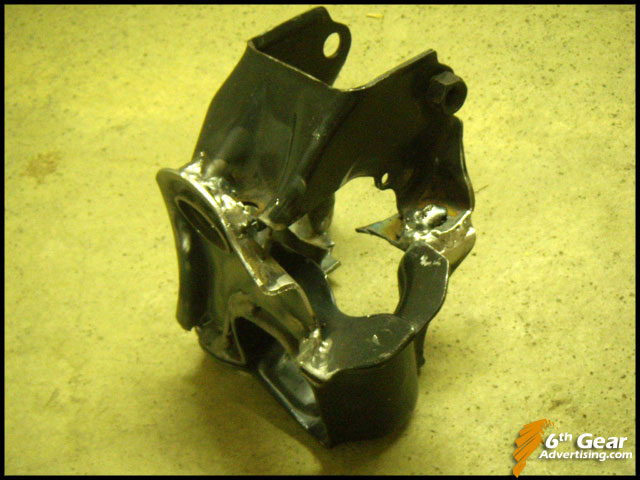
Here I have the mount tacked together.
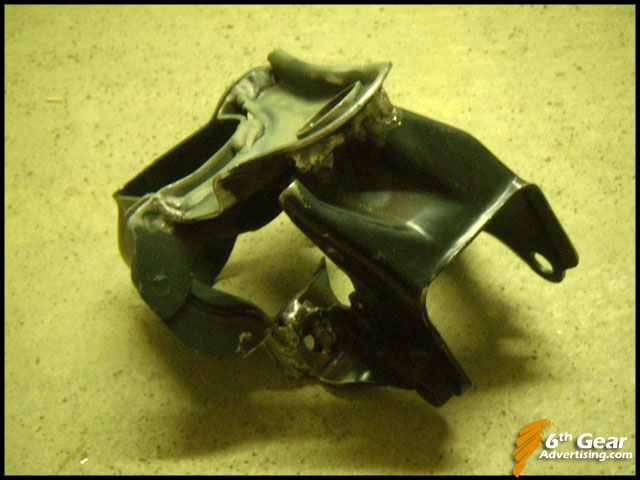
Remove it from the bay and then do all the heavy welding...

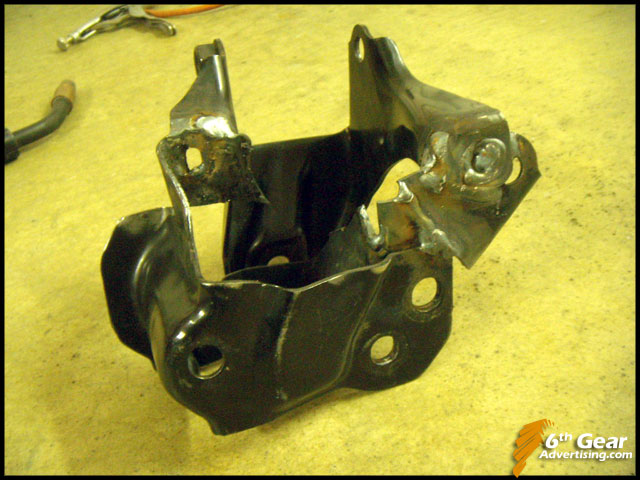
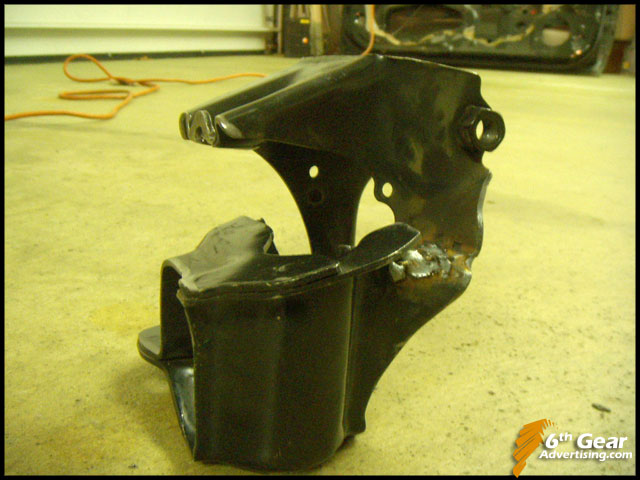
There it is in all of its ugliness!
I still need to add an extra support, but didn't have much scrap that I could use... So I cut off a piece of an OEM upper control arm and bent it up a little.
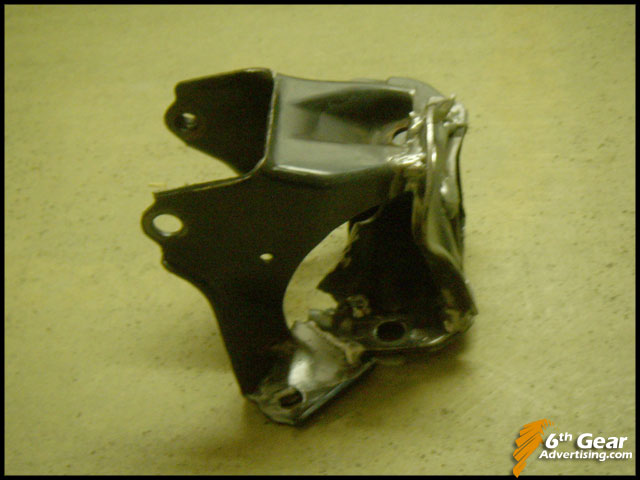
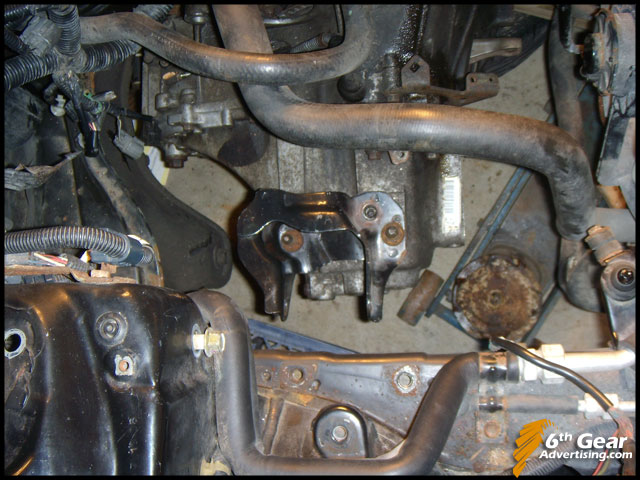
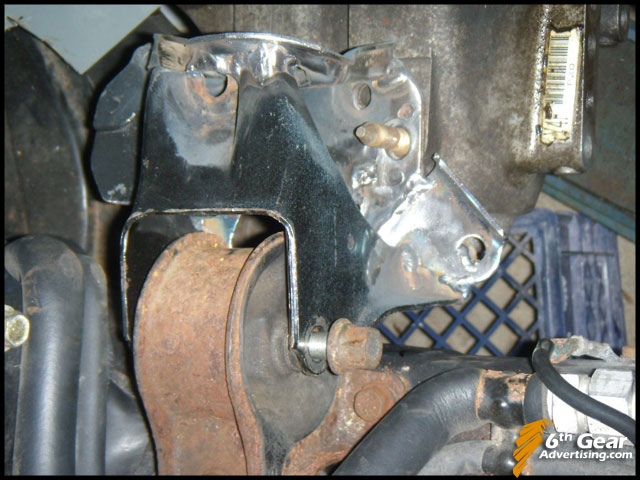
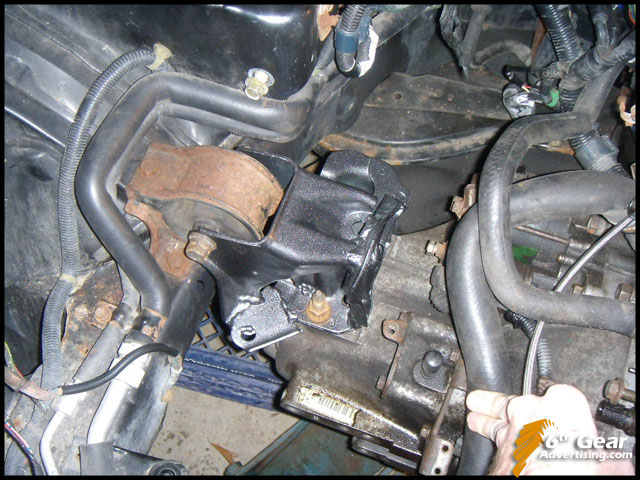
And here it is in the bay, everything measures up!
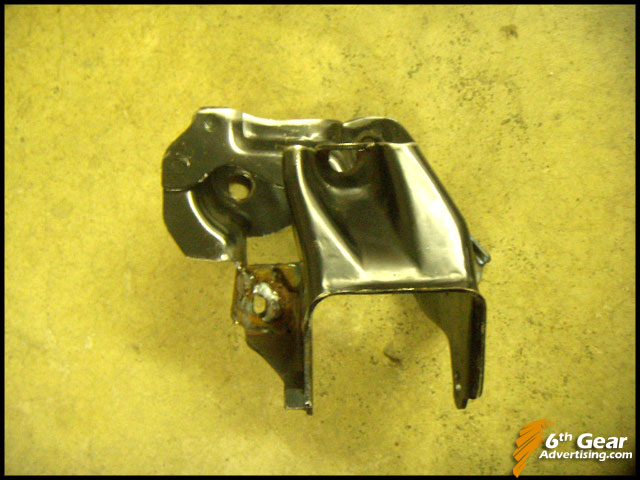
After using a wire wheel on the welds & cleaning & degreasing the frankenstein bracket, I sprayed it with a couple light coats of Self Etching Primer.
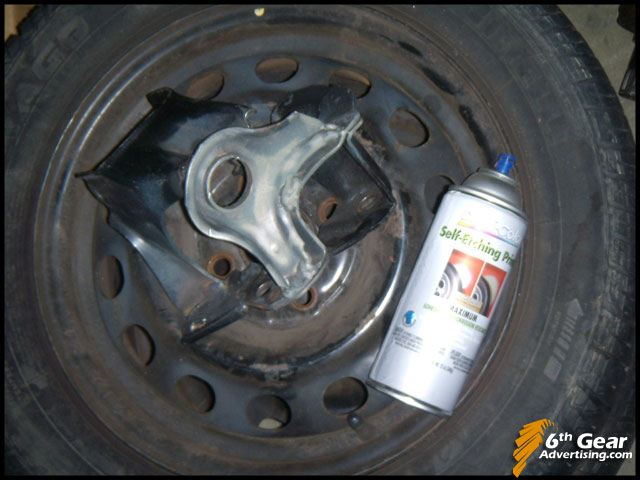
Then painted it for the OEM look, and to prevent it from rusting.
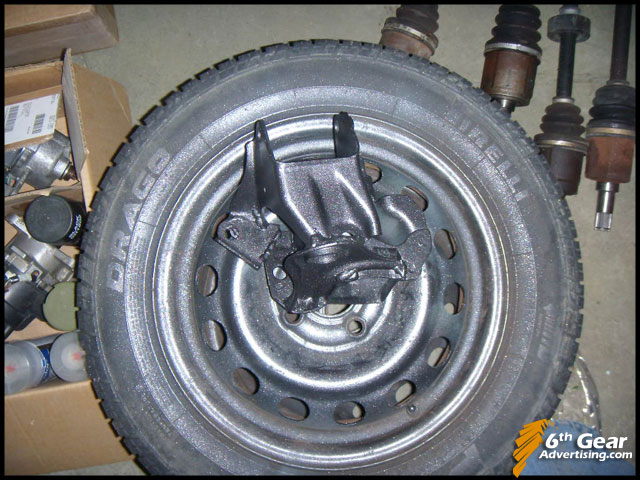

Yeah, I'm a hillbilly, but at least I painted it :P
posted by Brian @ 6:22 AM
![]()


0 Comments:
Post a Comment
<< Home