9. Installing the shifter & linkage
This write up is only intended as an overview of converting your CVT Civic to Manual transmission. By reading further, you are agreeing that by attempting to do anything you see here, I am in no way responsible to any damage you cause to your transmission, your car, or yourself. I suggest you purchase a service manual for all the details, such as torque specs & tightening order.
Shift Linkage:
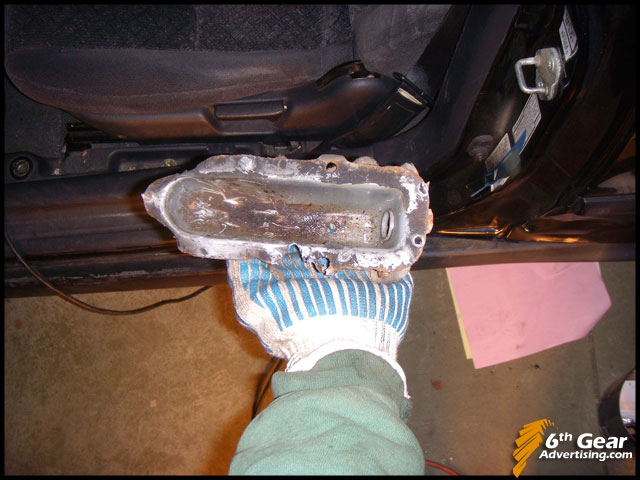
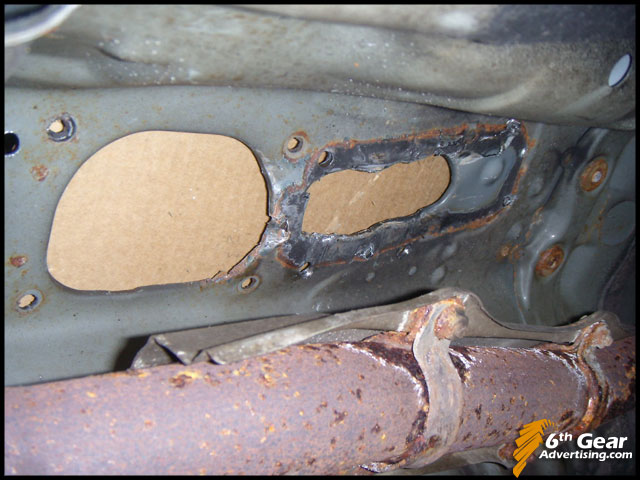
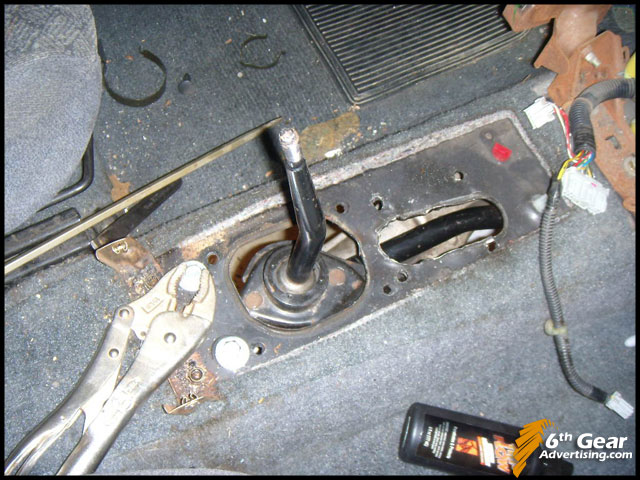
You will need to remove the belly in the floorpan that covered the bottom of the auto shifter unit. First, drill out the spot welds.
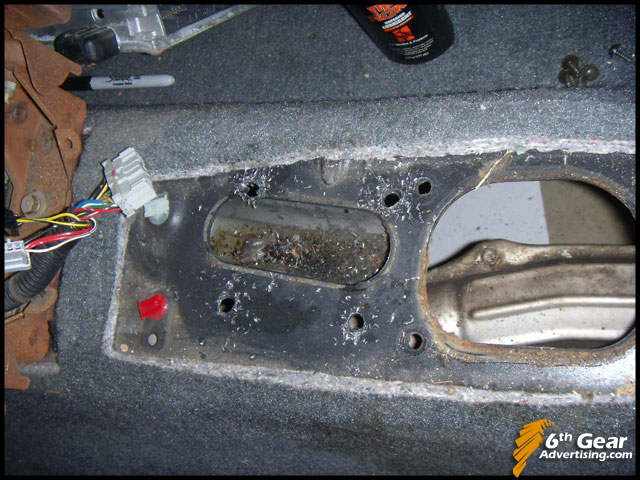
Then you should be able to move the piece, but there will be a couple more spot welds further up that hold the front on.
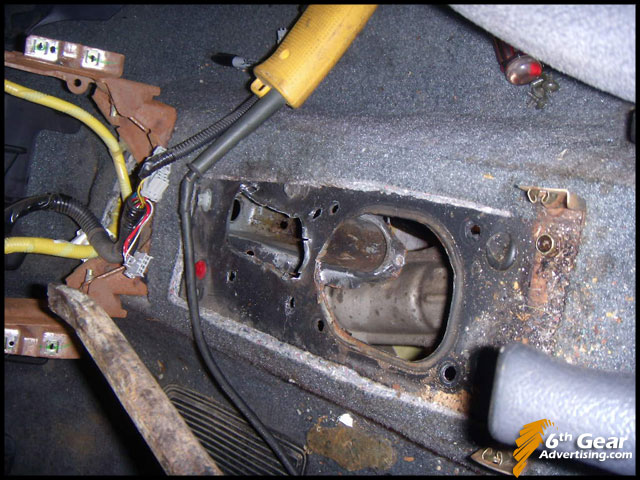
Rather than climb under the car to drill them out, I just bent it back and forth until they broke, with the help of a pry bar.
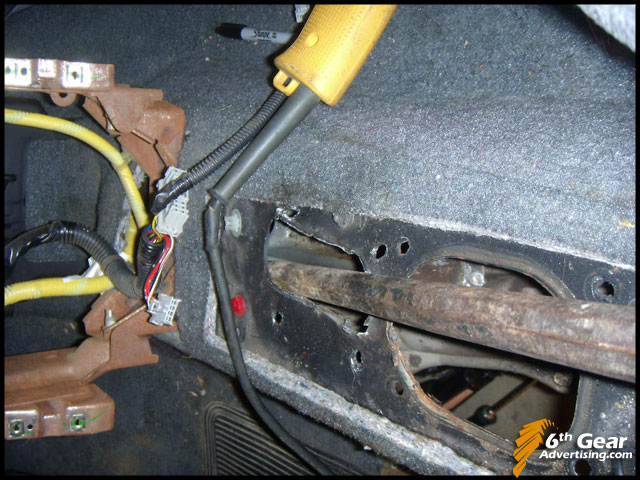
Removed:
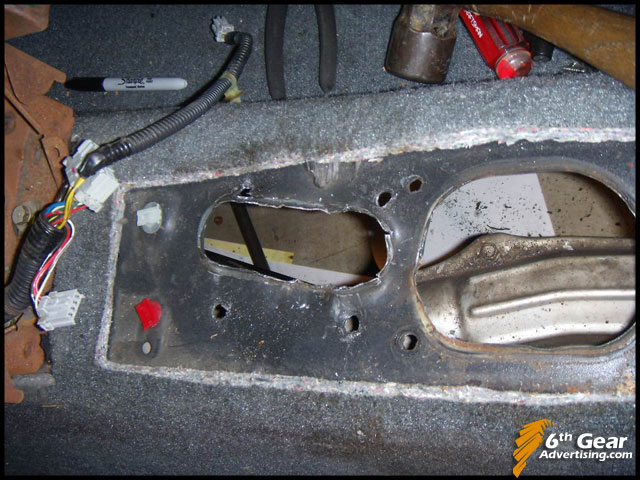
The manual shift linkage will need 2 new holes drilled to bolt to the floor. There are 2 round recessed areas behind the original holes, drill right in the center of those.
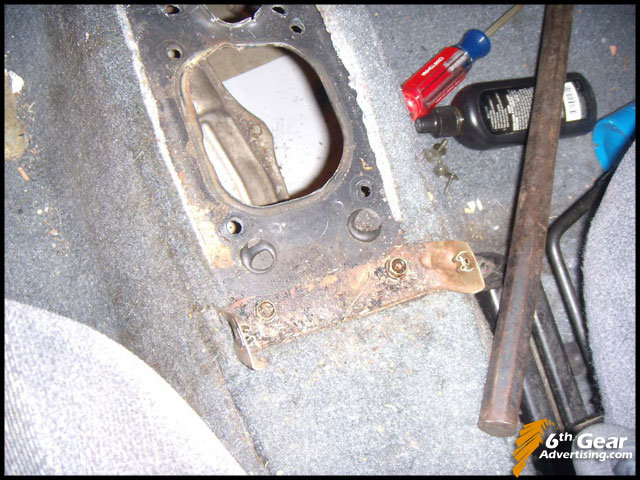
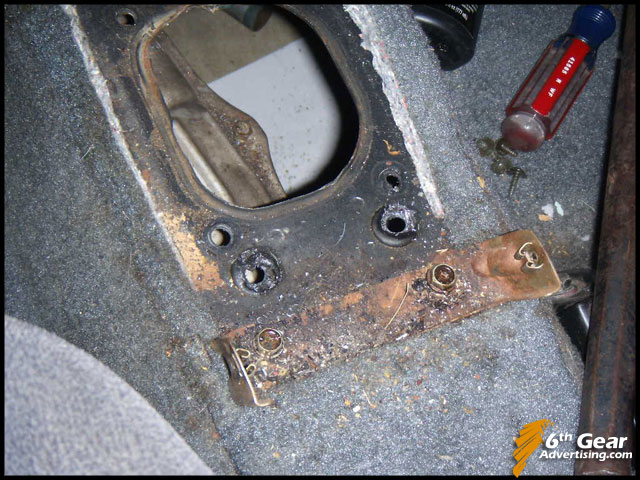
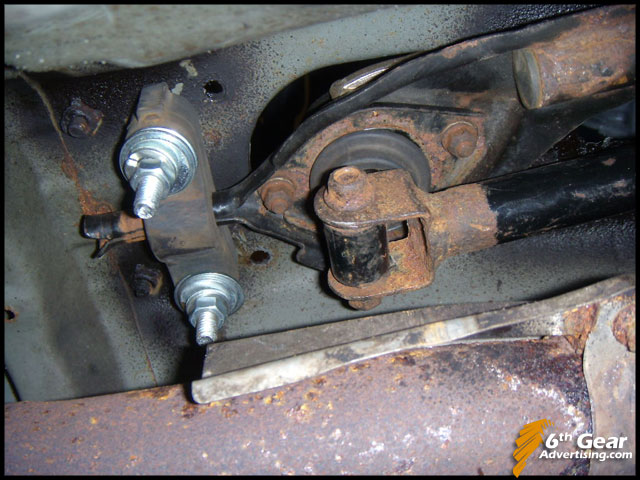
This is why you drilled the holes, this bolts in from the underside of the floor.
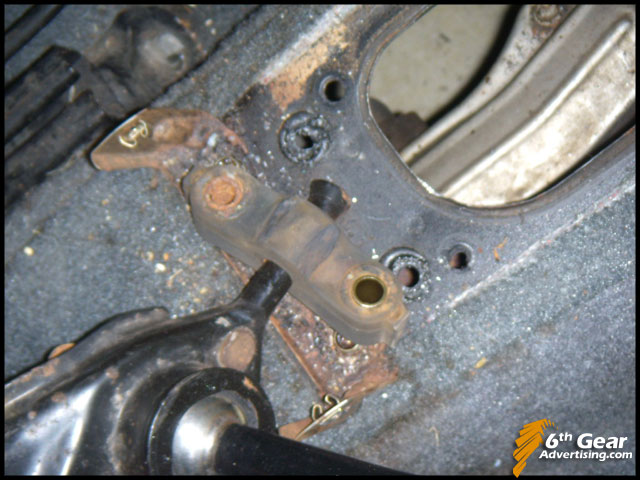
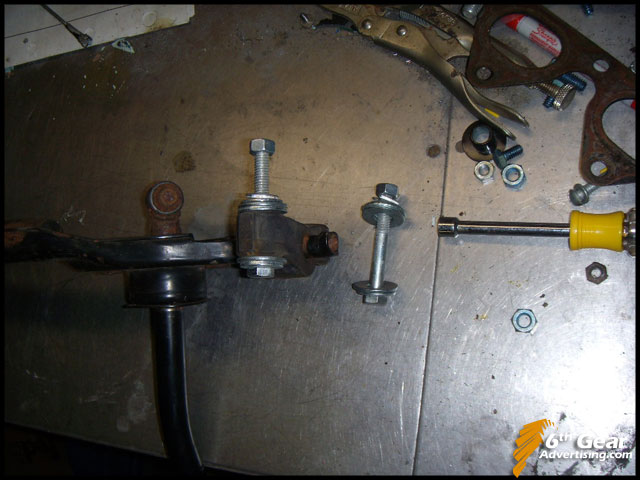
I looked around my garage and found some hardware, but you may need to go to the hardware store. Be sure you use lock washers so these never come loose.
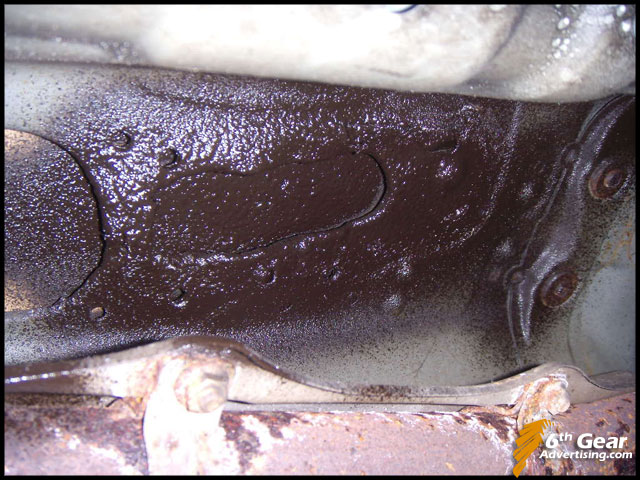
Before you bolt in the shift linkage, spray some undercoating around the shifter holes where you drilled the spot welds. This could help prevent rust.
Get everything in place. I already have the front piece of the linkage attached to the tranny. If yours is not attached, you will need to buy the "bitch pin"
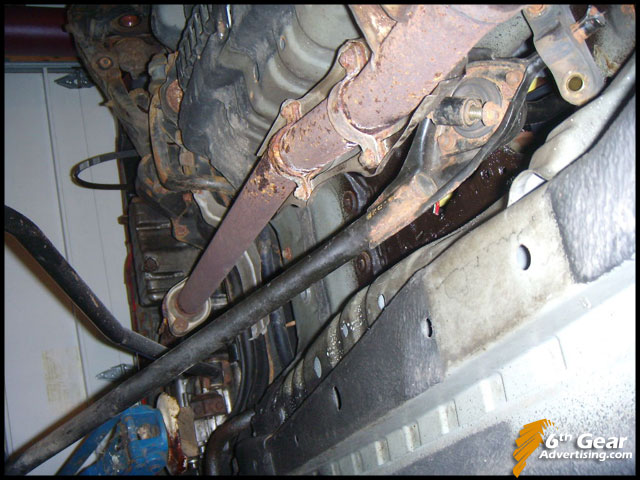
Then I bolted up the end of the shift linkage using a bolt I had to buy from the dealership.
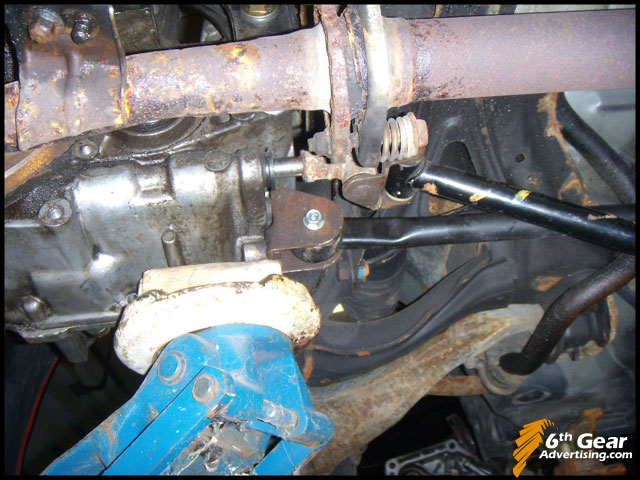
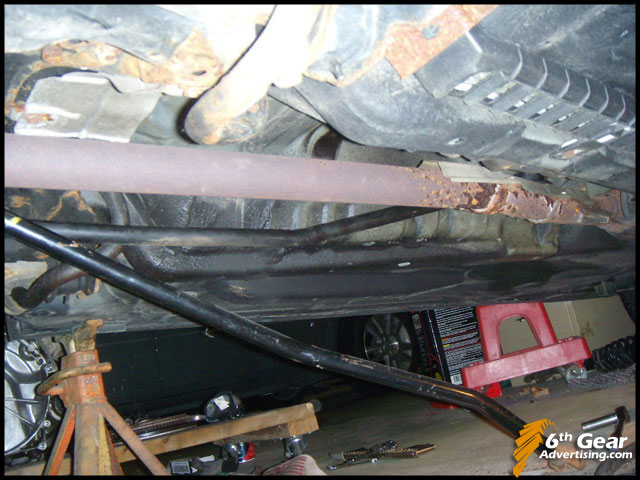
Just connect everything together, I was able to do it w/o removing the exhaust to save some time.
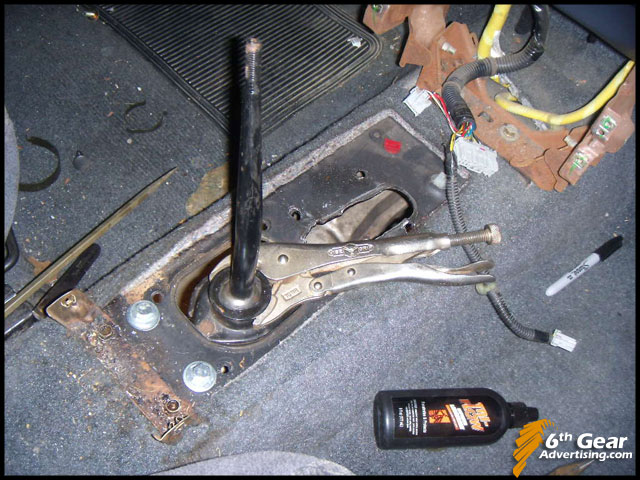
If you don't have anybody around to hold the shifter in place while you bolt it in from the bottom, this works:
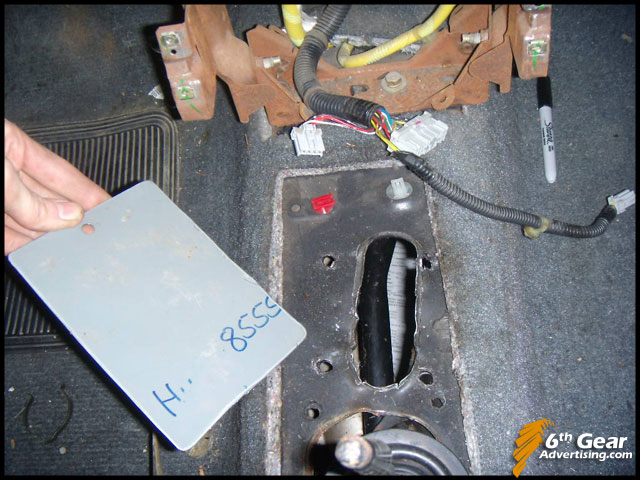
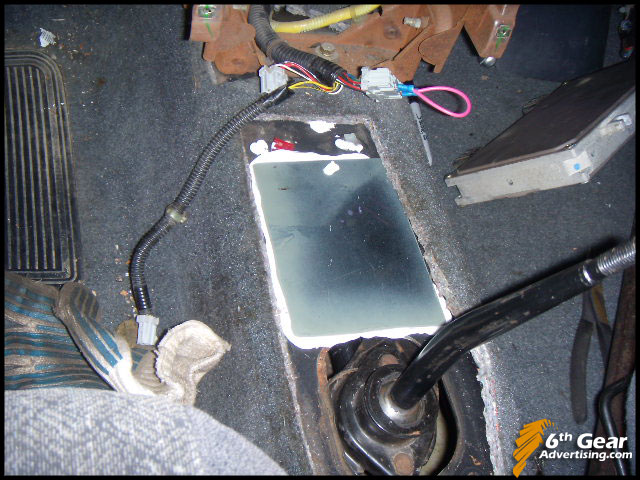
Then cut a patch to go over the hole that the cable went through.
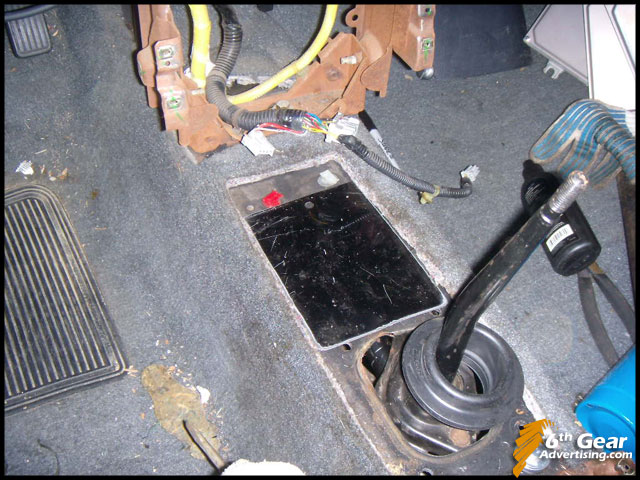
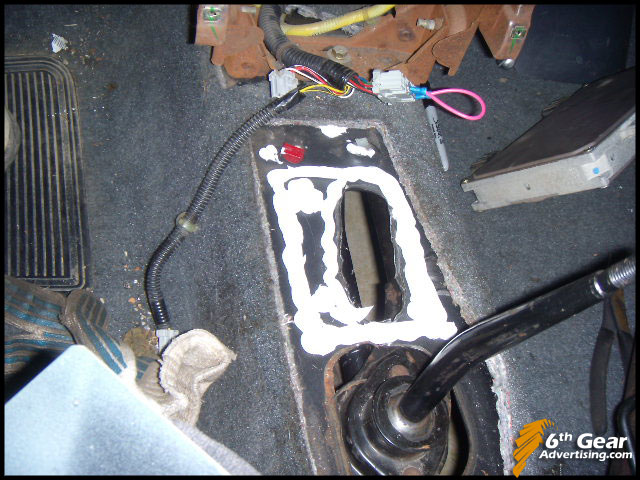
Put a nice thick bead of silicone around the edges of the hole so water stays out.


0 Comments:
Post a Comment
<< Home